We get a lot of questions about installing our See-Through pre-engineered fireplace kit. While the installation fundamentals are the same, the See-Through has a slightly trickier installation than the rest of our fireplaces. There are multiple special installation steps that must be considered for the proper installation of a See-Through fireplace, including:
Below, we’ve outlined the considerations and steps you should take to ensure your see-through fireplace firebox is installed correctly
Our See-Through fireplace is unique from the rest of our offerings because it has two side wall configuration options – 1 for a firebox with angled side walls and 1 for a firebox with straight side walls. Both options draw and reflect heat equally well, so the choice is purely aesthetic.

For a standard installation, the side blocks are positioned with the angles facing inward. This configuration creates angled side walls, which gives the firebox a more traditional look.
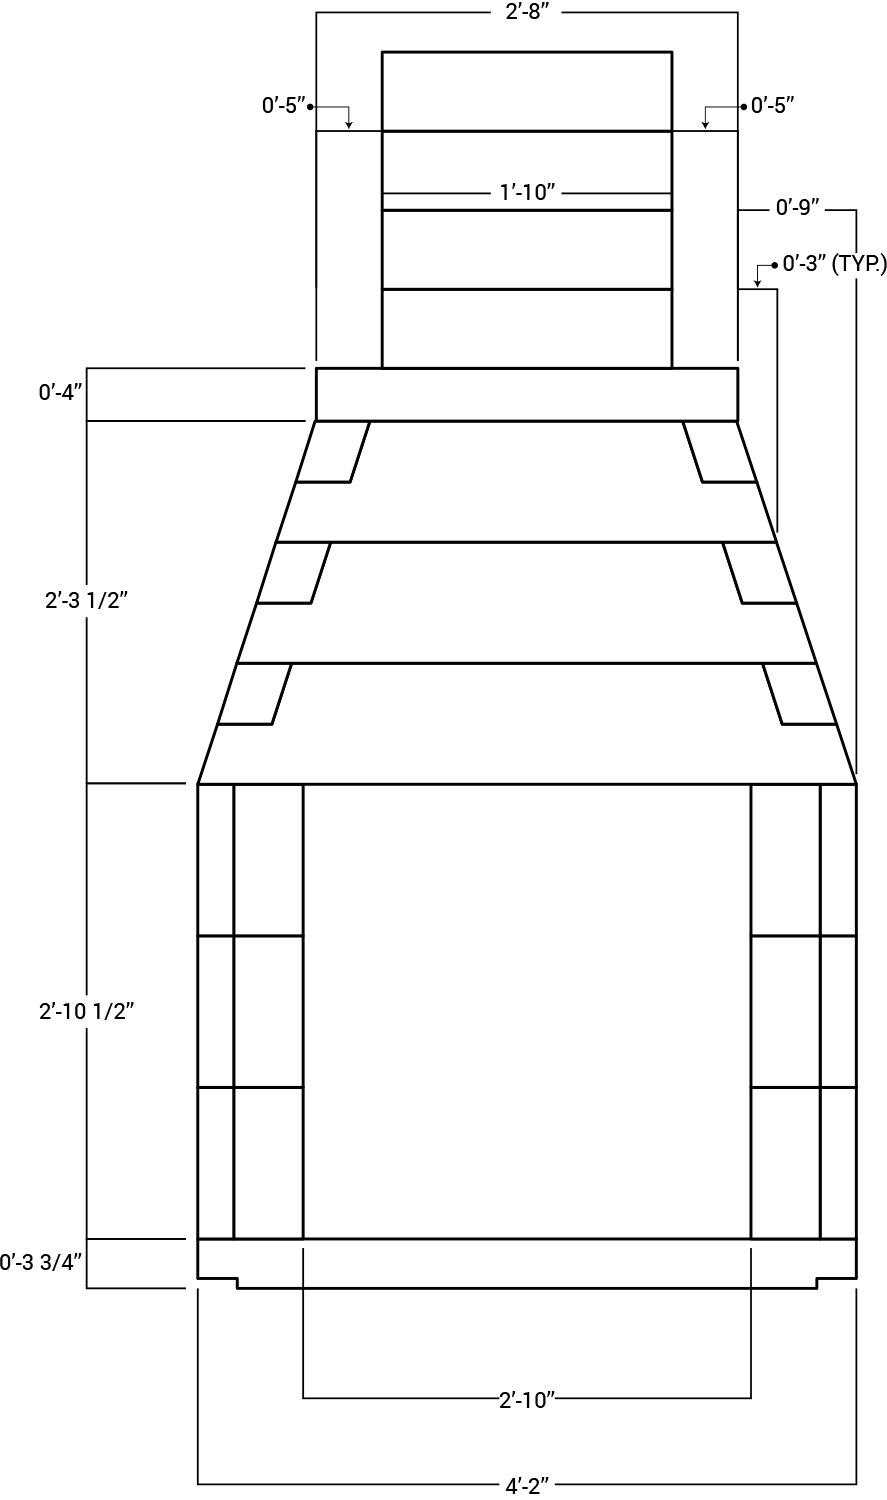
For the side blocks to be properly positioned for this installation, the straight edge of the side blocks should be aligned flush with the edge of the base plate (Figure 1).
If you are using the standard installation configuration, and your design calls for a raised hearth, the platform that your fireplace sits on needs to be at minimum the same width as your base plate (Figure 2).
Each fireplace uses a different size base plate.
| Firebox Width | Base Plate Width | Platform Width |
|---|---|---|
| 30" | 38" | 38" |
| 36" | 44" | 44" |
| 42" | 50" | 50" |
| 48" | 56" | 56" |
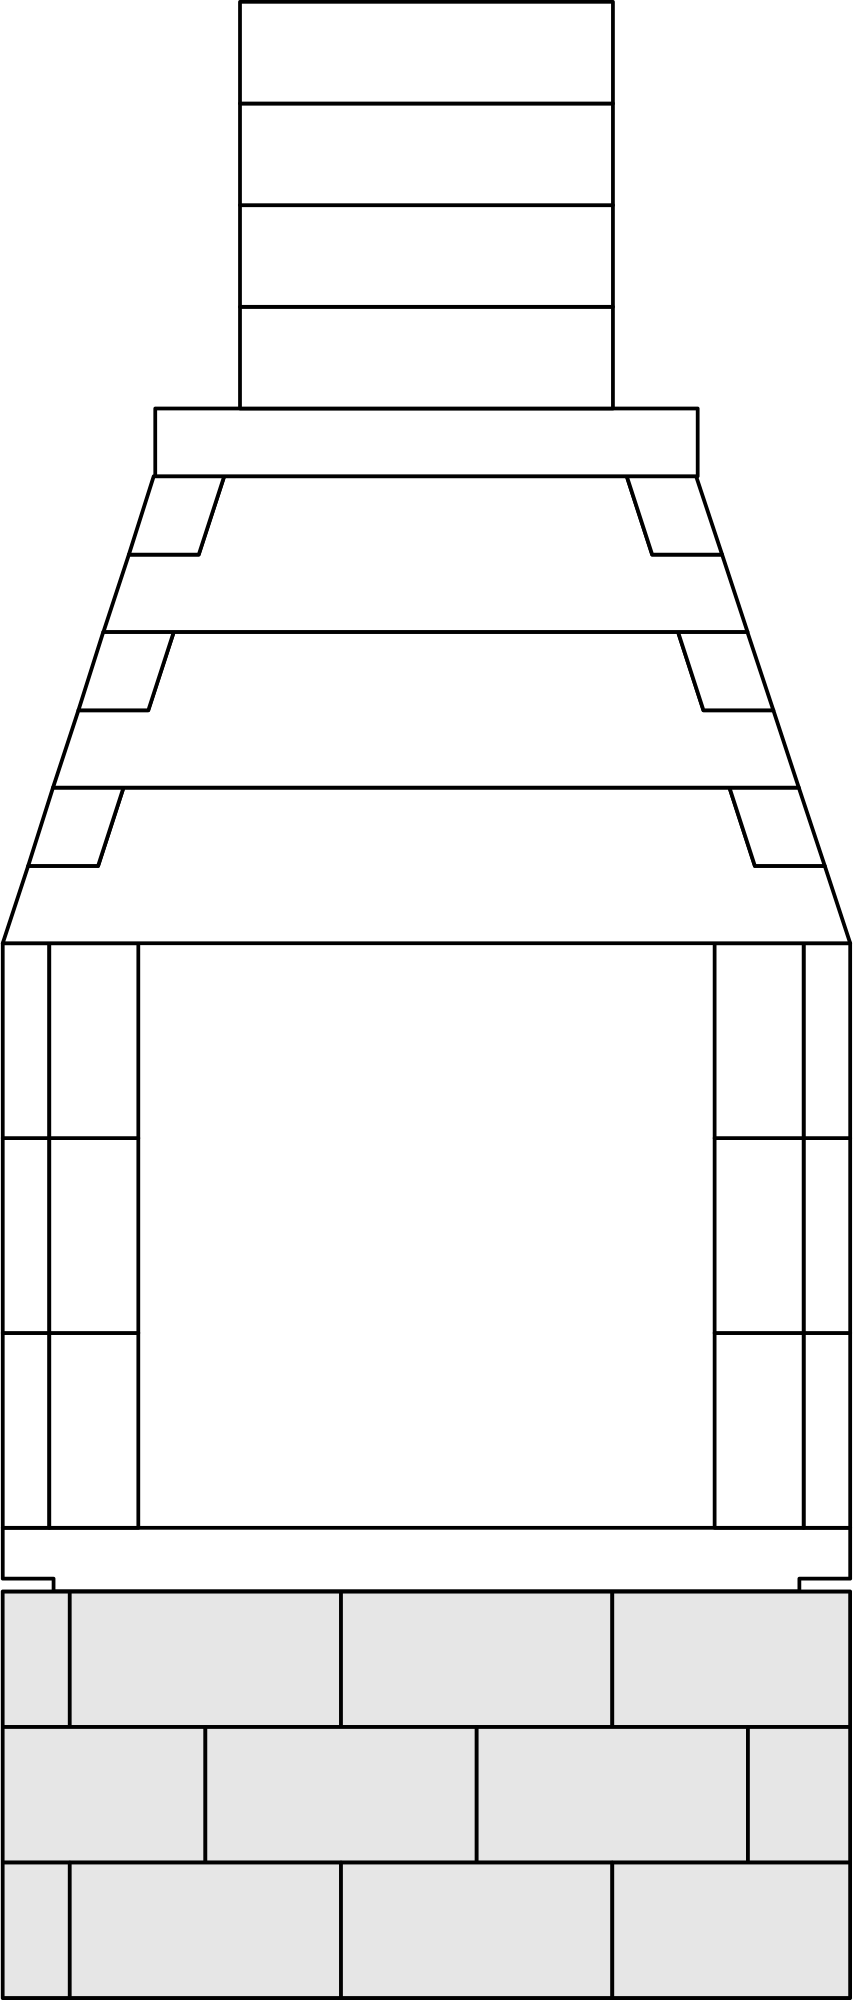
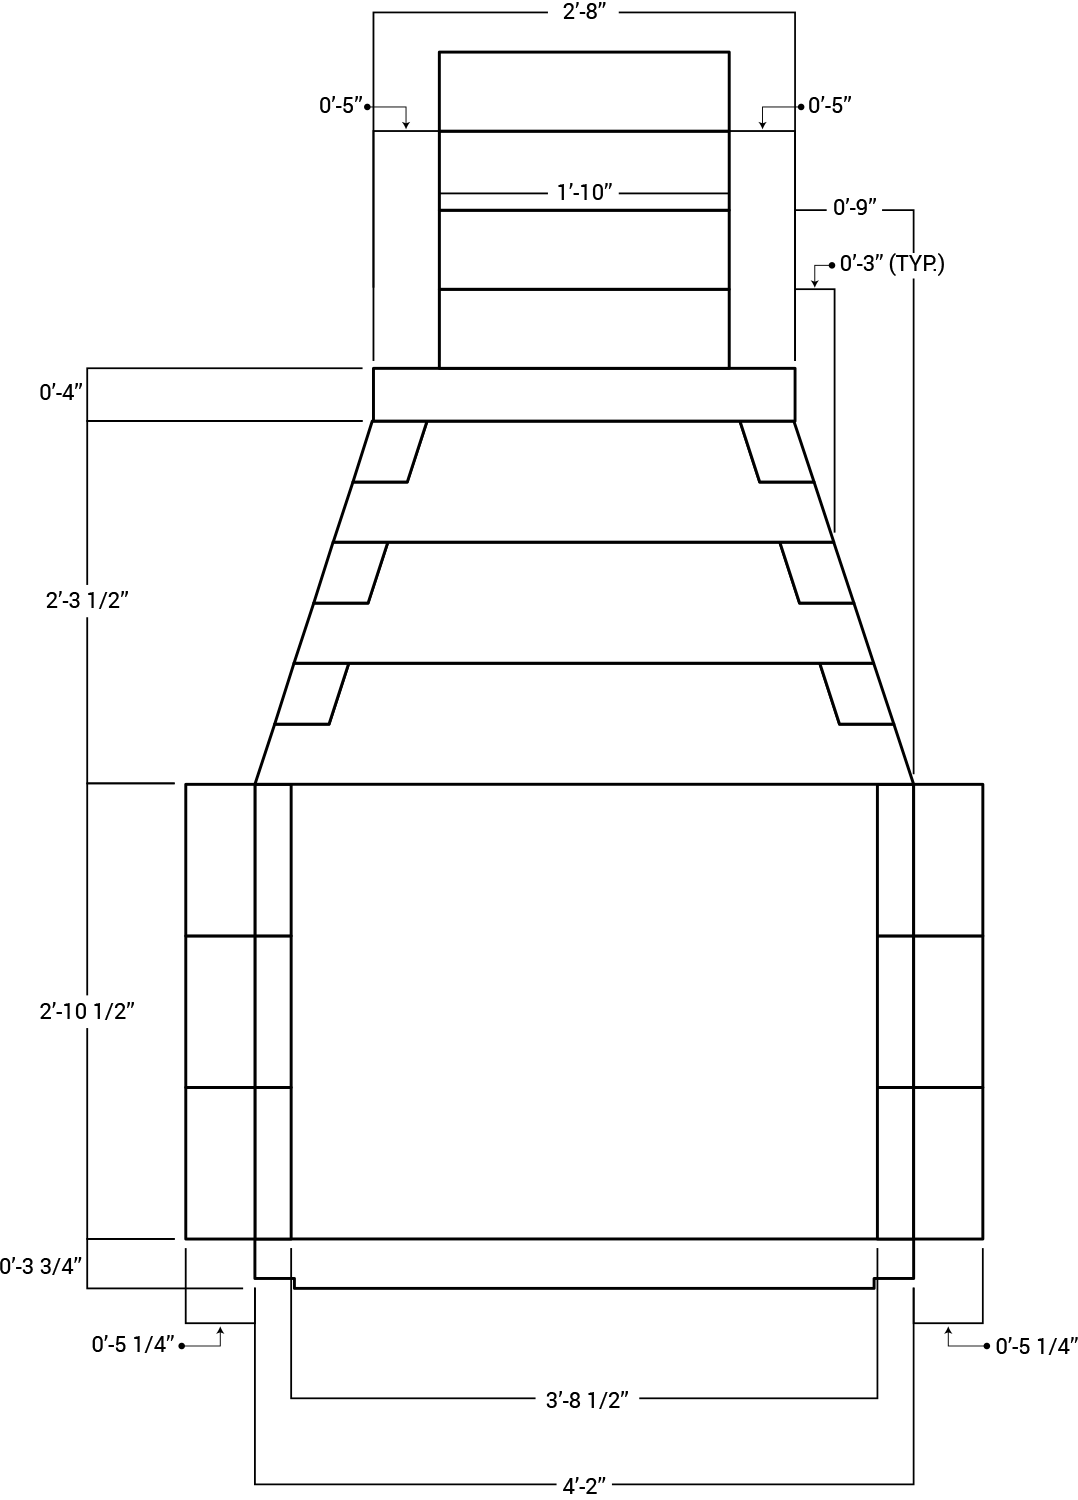
For the alternate installation configuration, the side blocks are positioned with the angles facing outwards. This configuration creates a straight wall firebox, which gives the firebox a more modern look.
A common misconception with this installation configuration is that it creates a narrower firebox. This is not true!
For the side blocks to be properly positioned for this installation, the straight edge of the side block should be brought in 2 ¾” from the edge of the base plate, causing the angles of the side block to protrude outward past the base plate (Figure 3). Positioning the side blocks this way allows the firebox and throat to retain the same width as the standard installation configuration.
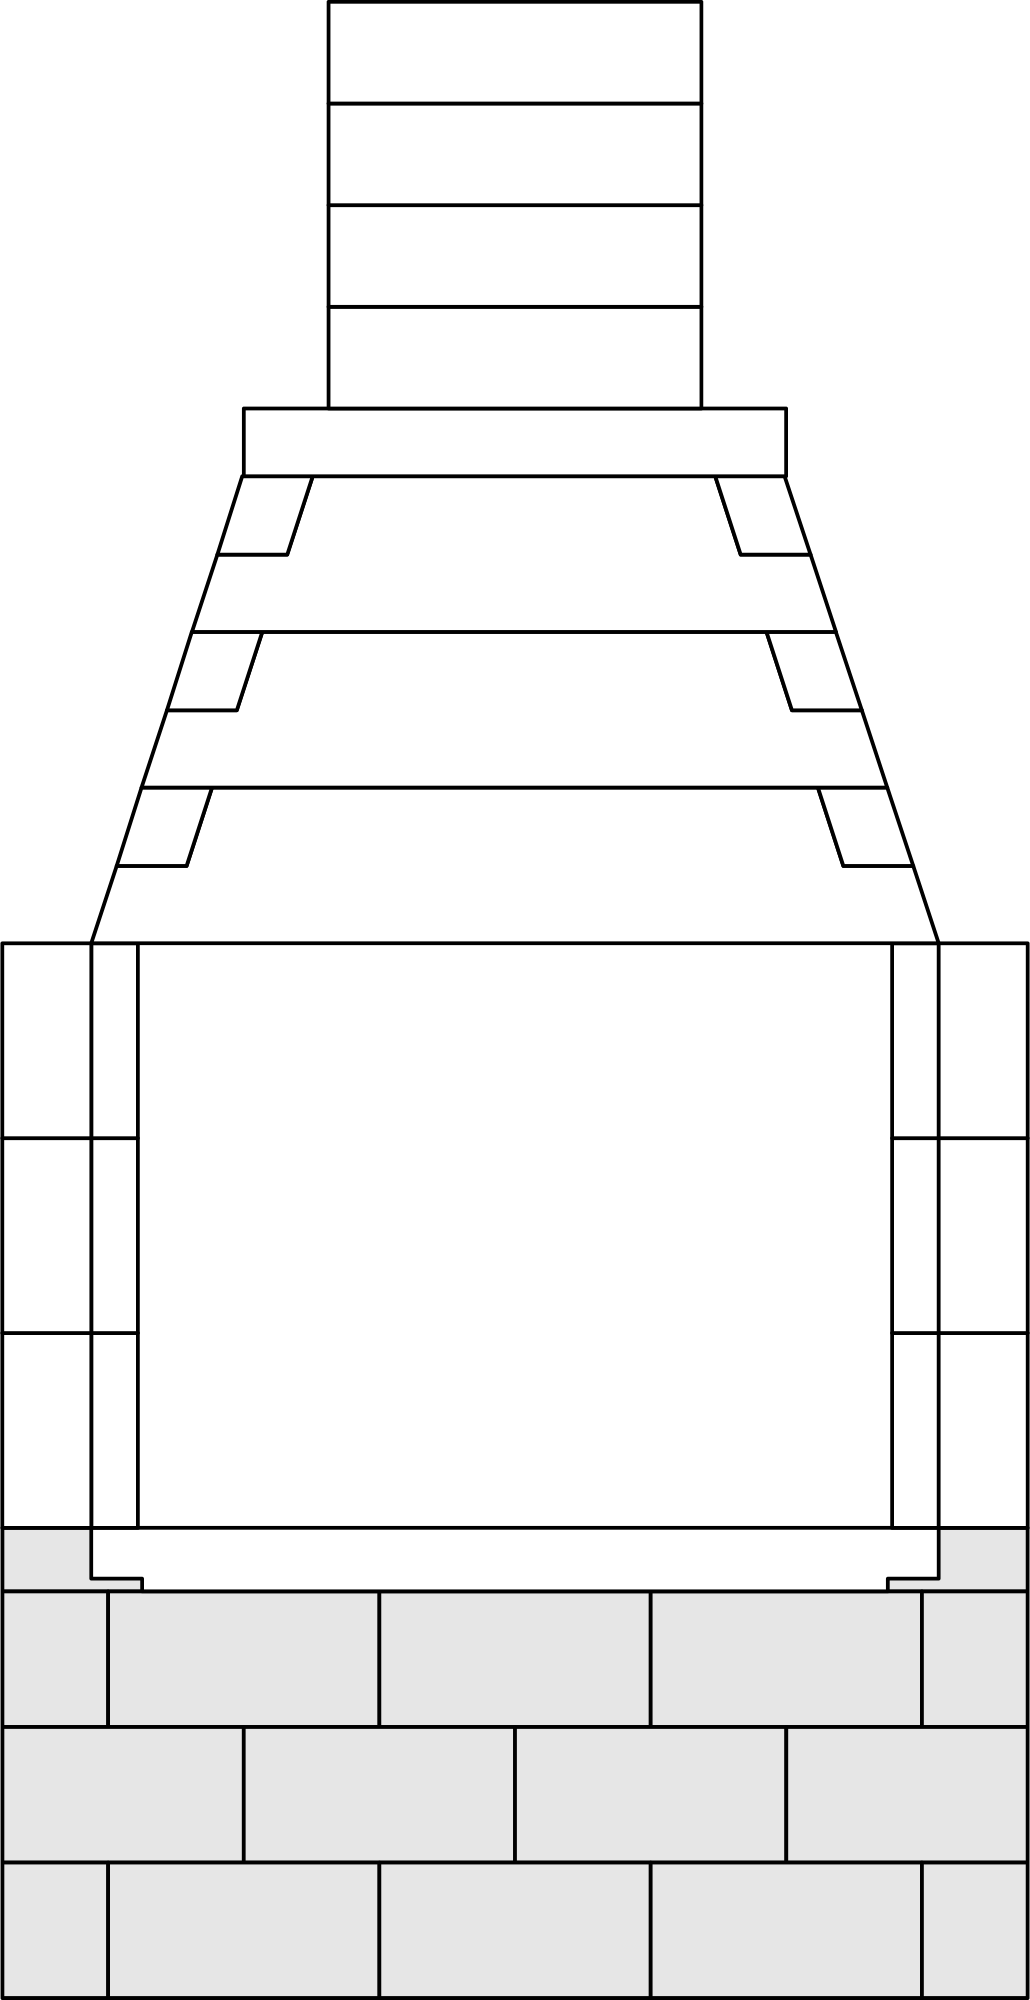
If you’re using the alternate installation configuration, and your design calls for a raised hearth, the CMU platform that your fireplace sits on will need to be wide enough to accommodate the overhang of the side blocks (Figure 4).
Each side block should hang past the edge of the base plate 5 ¼”, meaning your platform should at minimum be the width of the base plate plus 10 ½”.
| Firebox Width | Base Plate Width | Platform Width |
|---|---|---|
| 30" | 38" | 48 ½" |
| 36" | 44" | 54 ½" |
| 42" | 50" | 60 ½" |
| 48" | 56" | 66 ½" |
For the platform to fully support the side walls, it will also need to account for the 3 ¾” of the base plate, filling the gap between the platform and bottom side wall with a noncombustible material, like CMU (Figure 4).
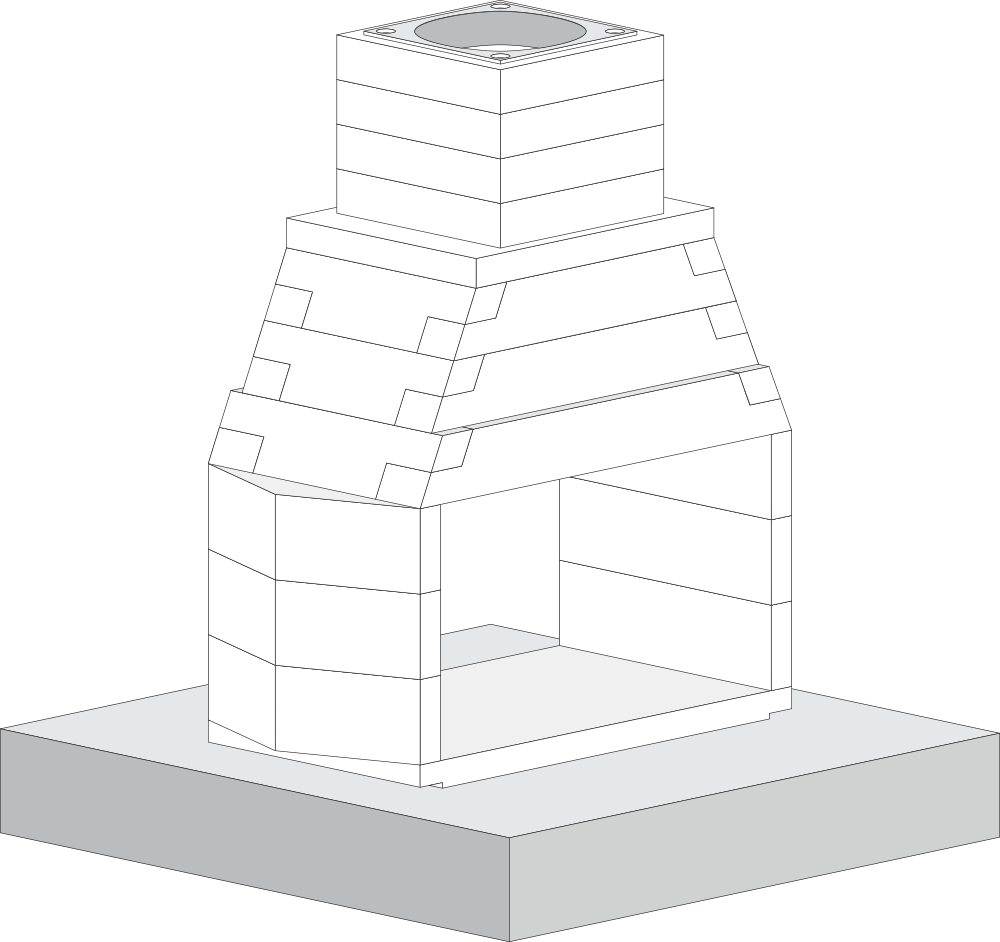
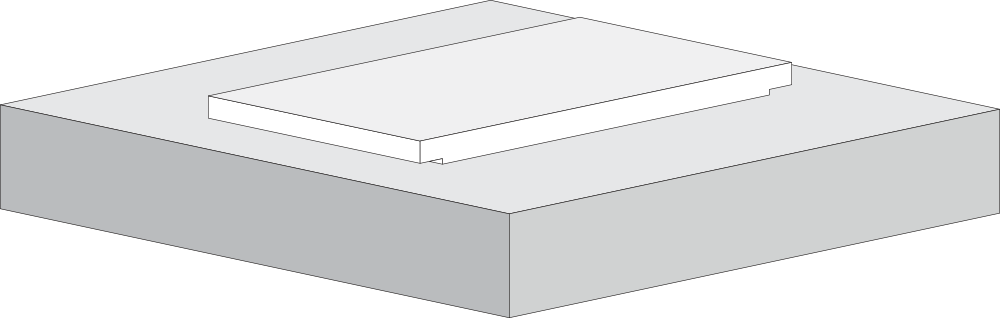
The base plate must be placed on a level noncombustible surface. It is very important that your base plate be square to the room, properly centered, and level. Mark out the position of the base plate on the pad, slab, or CMU tower where it is being installed. Next, apply a layer of mortar to the area and set the base plate. For the See-Through fireplace, the base plate is installed upside down (Figure 5).
Whether using a flush hearth or a raised hearth, a noncombustible hearth must extend at least 20” out in front of the finished firebox opening (both front and back) and 8” beyond the finished sides of the opening.
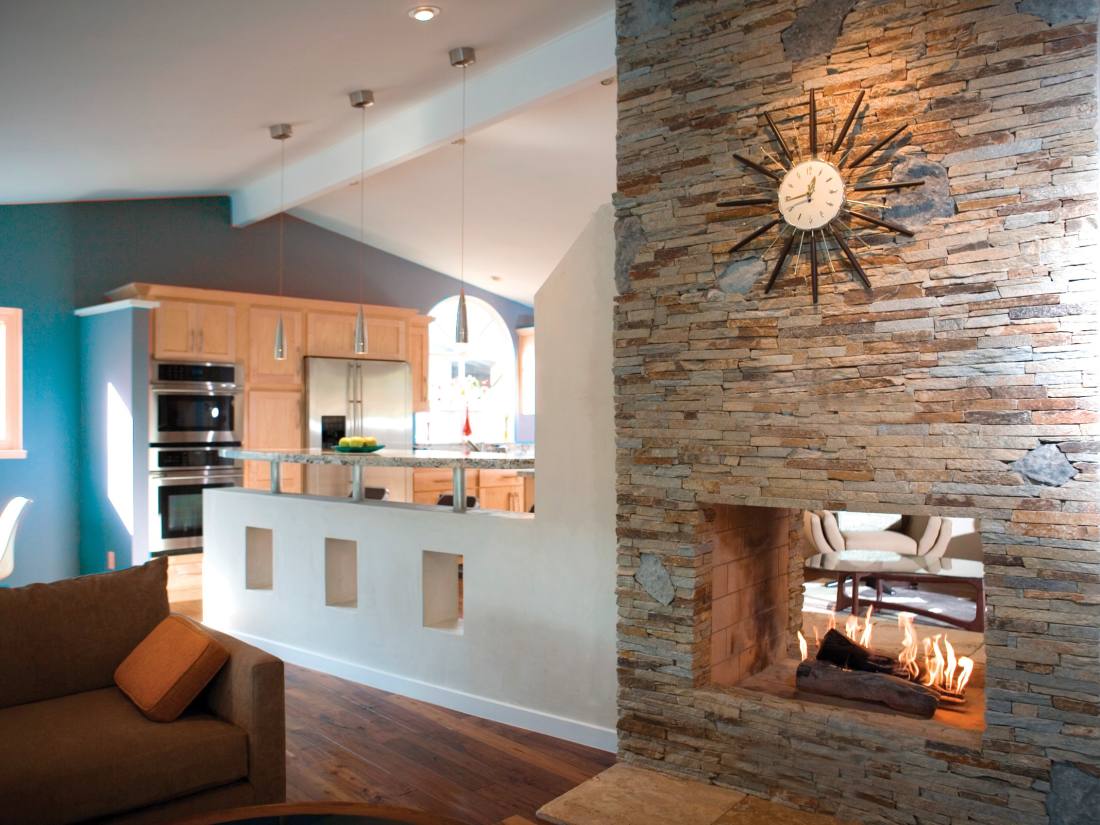
Because See-Through fireplaces don’t have a back wall, glass doors are necessary to aid smoke draw. For your installation to be UL 127 compliant, install glass doors on one or both sides, which will ensure no smoke spillage or smoke “puffing.”
If your fireplace only has one set of doors, make sure to fully close them before operating the fireplace.
If your fireplace has a set of doors on each side, always operate it with one side fully closed and the other side open.
